
How to create you own blog!
Easy and casual tutorial!
It's super easy!
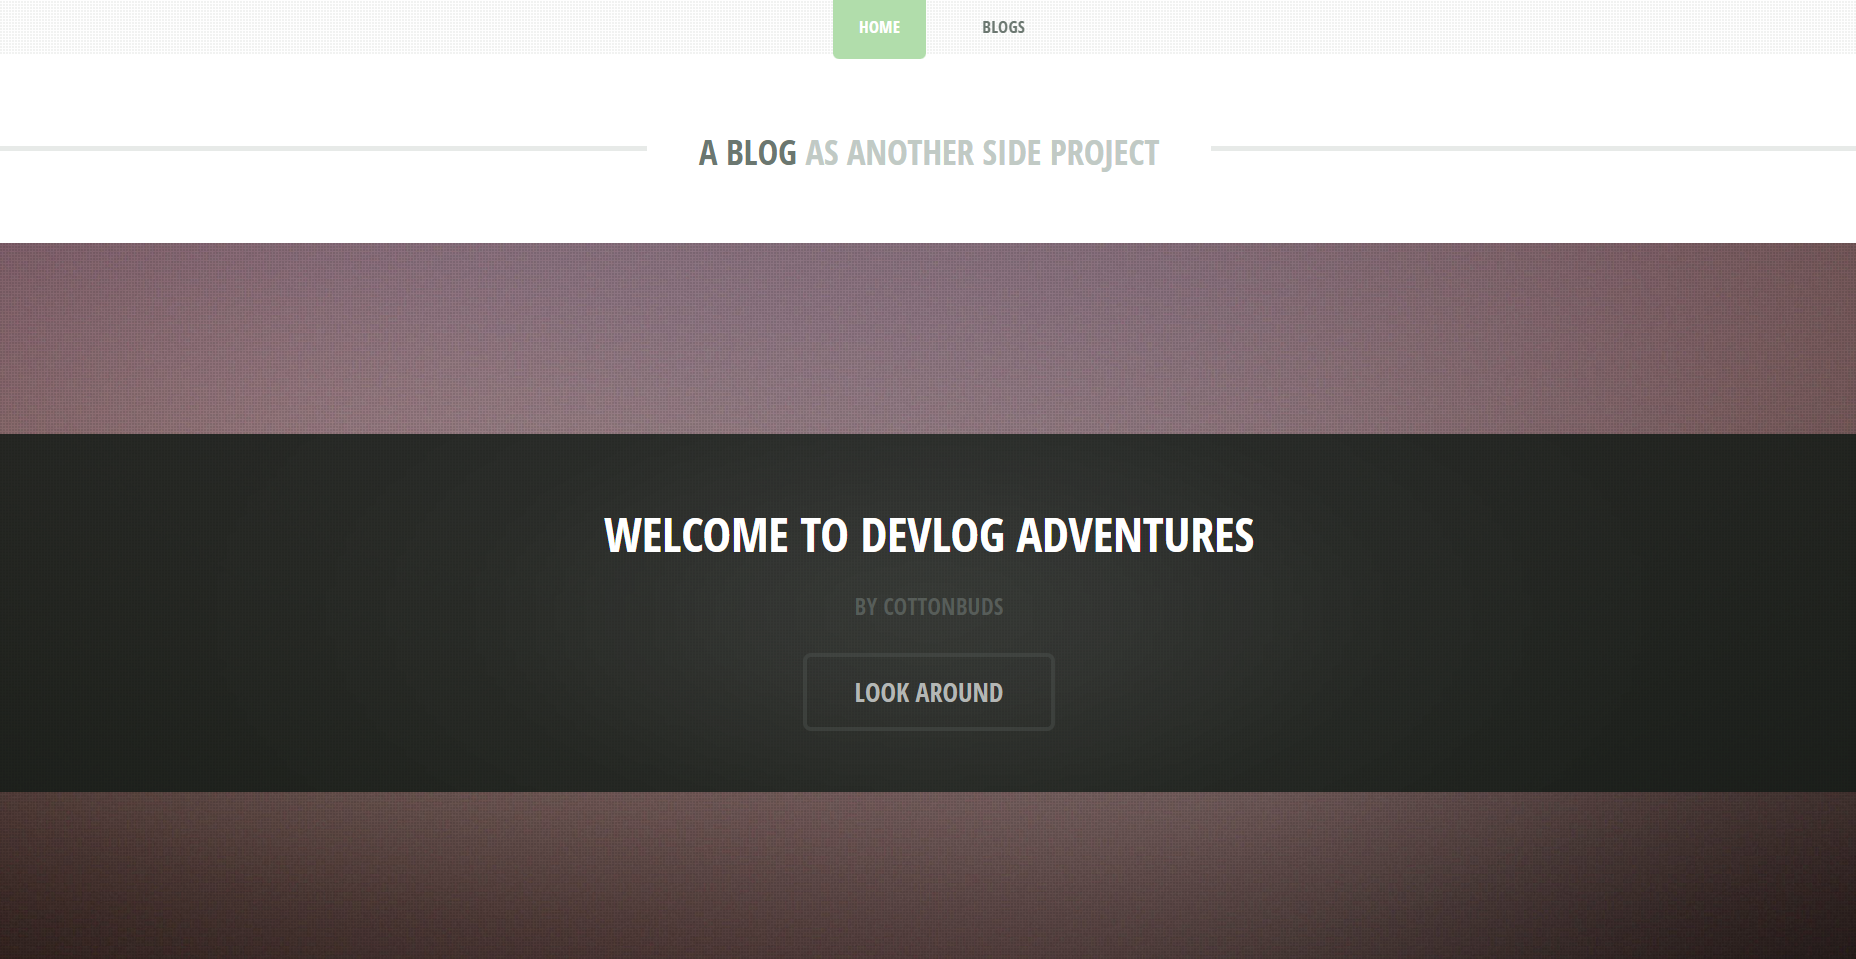
You might think to yourself that making a website is difficult. "It's coding its very complicated and its like math scarry". In That I say yes you're not that far from the truth. Building a website from ground up is a mendokusai (bothersome) activity. Even at first when I am planning to create this blog and started learning HTML, CCS and javascript I don't feel very good learning the basic it just looks shit and I can't stand it so I quit. So am I lying when I said you can also make website like this one? no! Fortunately if we can't get it by ourselves we can just steal. oh no I mean borrow. These days there is A TON of website templates that we can use, edit and personalize and make it your own. This website is also made from a template from HTML5 Up and I just edited some things to make me feel like I did some work. Here I will show you how I did it and maybe you can use this page as a reference to make your own blog!
let's start!
Okay lets start with finding a template for your website! Like I said we can just find it in internet with just a search you can find website offering free and paid templates. If you're thinking you need to pay for a template that's completely wrong even the free versions of the templates is enough for your own blog or website if you spend some time tinkering and editing it. While there is a lot of website offering website templates out there I personally recommend HTML5 Up I also got my template on that website and their templates is completely free! We just need to give credits to HTML5 Up for the template.
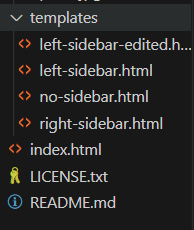
Once you got your template and decompressed it, it usually contains an index.html, ccs, javascript files and some page templates. This might be kind of overwhelming but calm down the trick is focusing only on the parts we want to edit. Let me give you an example.
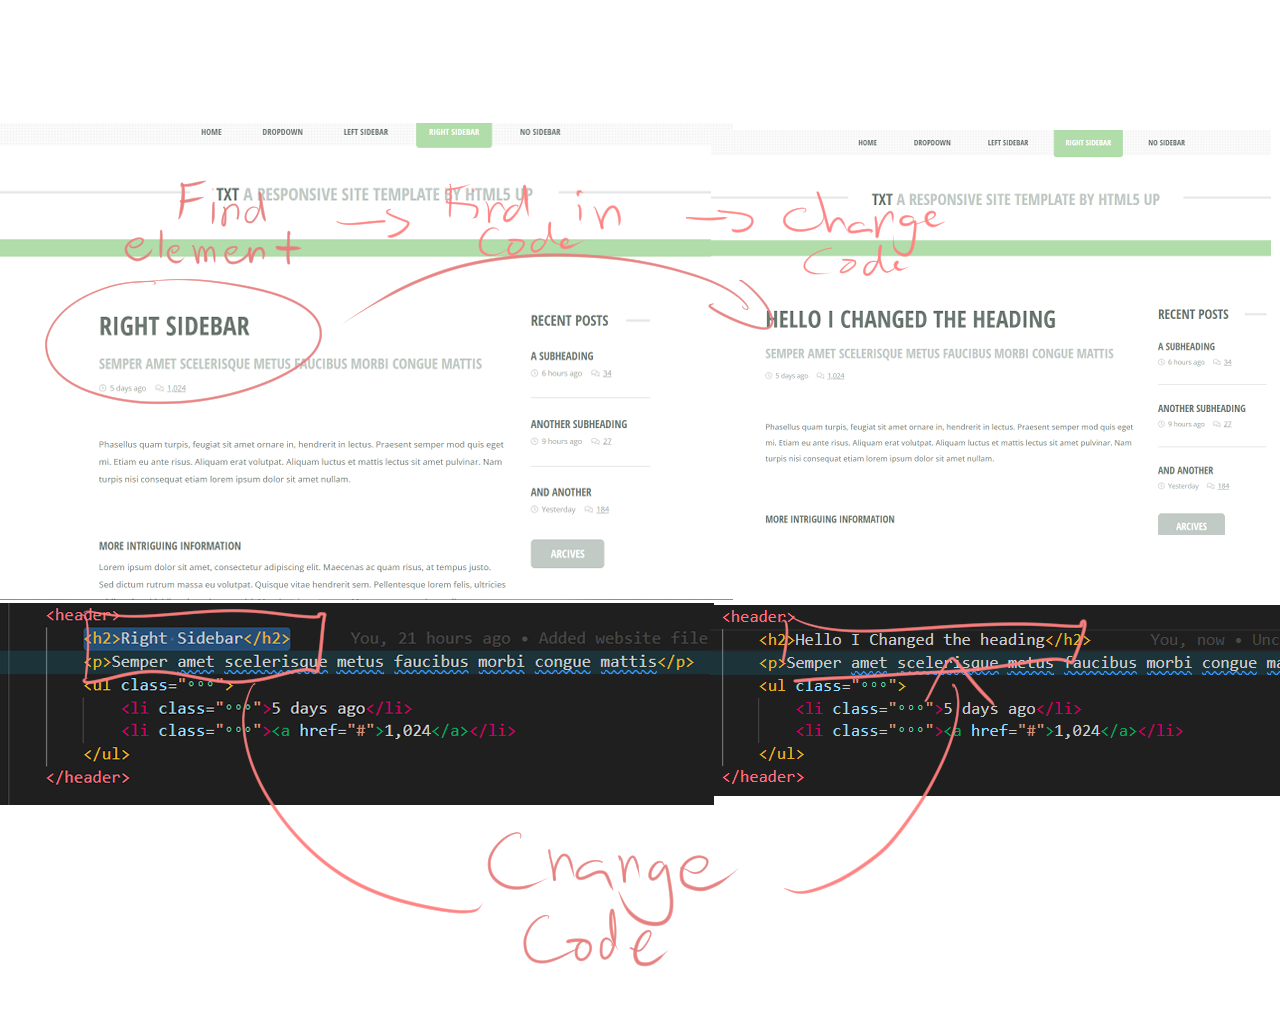
Here we want to edit the heading showing "Right Sidebar" to something else. To do this we must find the element in the code.My tip in finding these elements is using ctrl + f it will save you a lot of time. We just need to search the text saying "Right Sidebar" and to check if we really is on the right element we look at the neighbors and also compare it from the site in instance we can see that the "Right sidebar" have a subheading of some sorts and in the code we can be sure that this is the right element because right after the "Right sidebar" we get to see the subheading. Okay now that we know what and where is the element we want to change we are almost done! change the text to anything you want in my case I changed it to "Hello I changed the heading" to really make sure that I changed the heading.
Changing the text is what you will mostly do editing the page. Another thing I want to suggest is do not be afraid of deleting parts of the template. I see most people being scared on deleting parts even tho they don't need it and cause their website to have unnecessary clutter. Let's say we don't want the sidebar on our website and we want to delete it.
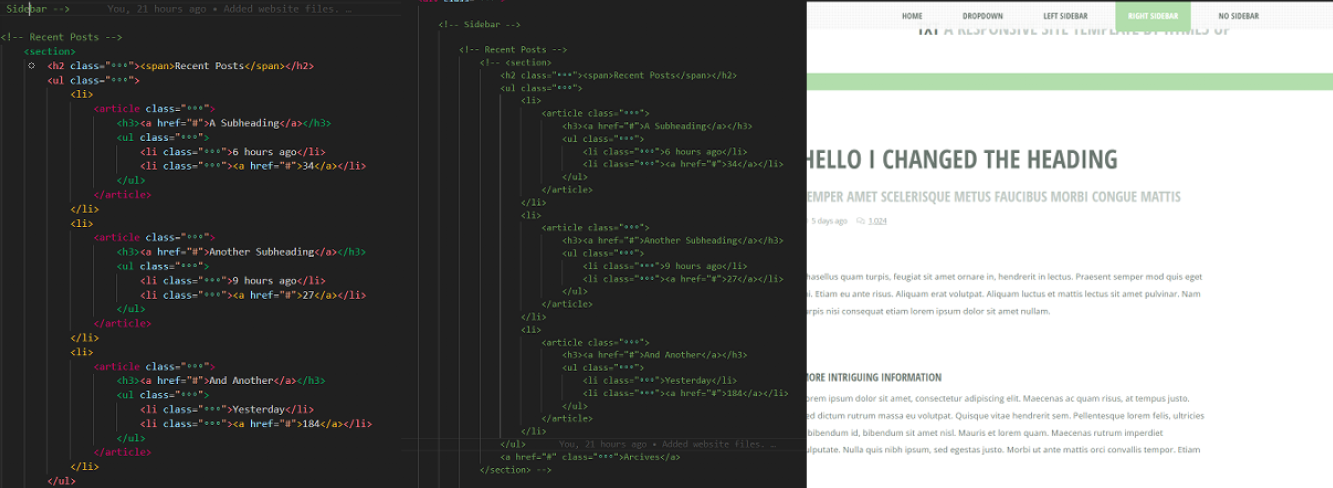
Again we find what element are we gonna edit and luckily for us the template we downloaded have a label for each part we can easily spot the sidebar element. Now we just need to select it and delete it or if you are really scared that you might need this in the future I suggest commenting it by pressing ctrl + /. This way we can still un comment it and use it it later if we want to. you can edit the files until you are satisfied. Once you are done move to the next section.
Hosting your website..... For free!!
A lot of my web developer friends always say that creating the website is the easy part and hosting it is a different beast. But from my experience it didn't feel that way in fact I felt that hosting the website is like a lvl 1 slime. Well this is only the case because I used github pages. Github pages is a way to publish a static(no backend) website for free and another advantage is it's really easy to setup. It literally took me less than 5 minutes to get my edited website up in the internet. I hope you're hyped enough!
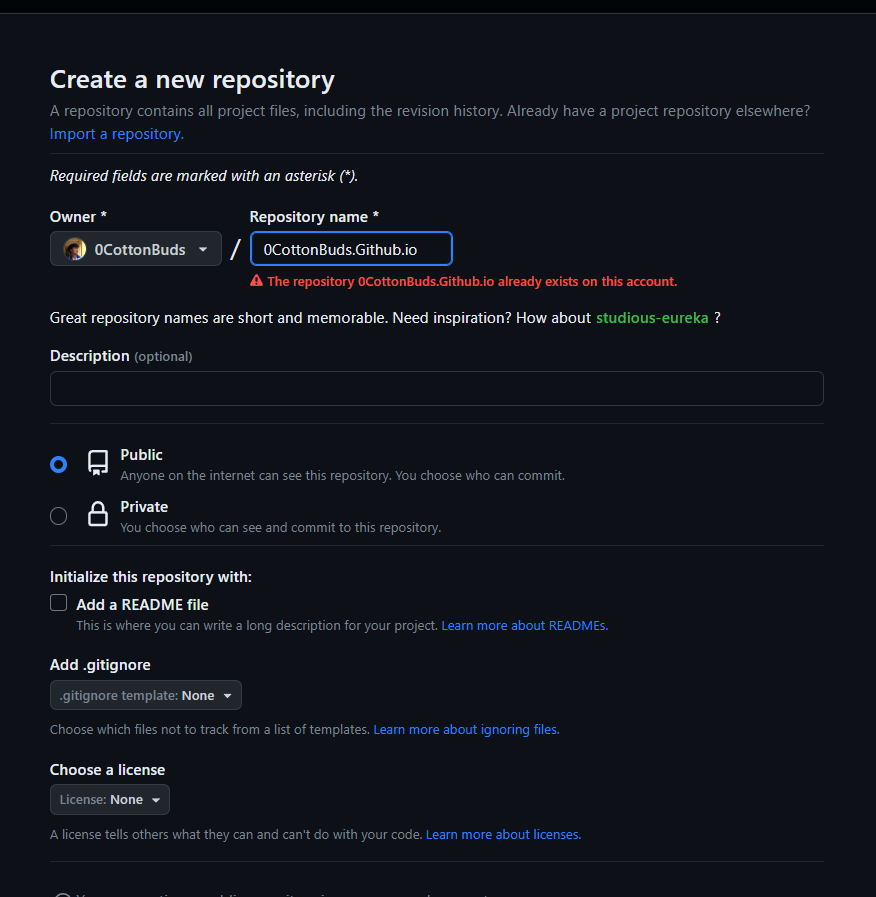
The first step is to create a github account and create a new repository. you need to name your repository as [your username here].github.io. This is a requirement to make your life easier. After that we just need to drag and drop our files to the repository(This can also be done using git cli/desktop but learn that yourself) and we are done! Make sure you copy the files not the root folder this is a mistake many make for reference copy everything on the index.html layer and you will be good to go! Now your website is on https://[your username here].github.io/.
Time to wrap things up!
I hope this article helped you create your very own website. This is my first entry in my website so it's super scuffed but still I do want to think that this may help some people. You know what maybe as a first entry to your blog/website why not do the same as me create a tutorial like this as your first entry and document all the mistakes and success you made. Creating this made me understand the process more and more importantly I enjoyed it. This might be a challenge but keep going at it and I wish you luck!